
How To Get Iptv Stalker Working
If you’re a fan of watching TV shows and movies, you might have heard of IPTV Stalker. It’s a popular add-on for Kodi that allows you to stream live TV channels from all over the world. However, setting it up can be a bit tricky. In this article, we’ll go over how to get IPTV Stalker working on your device.
Step 1: Install Kodi
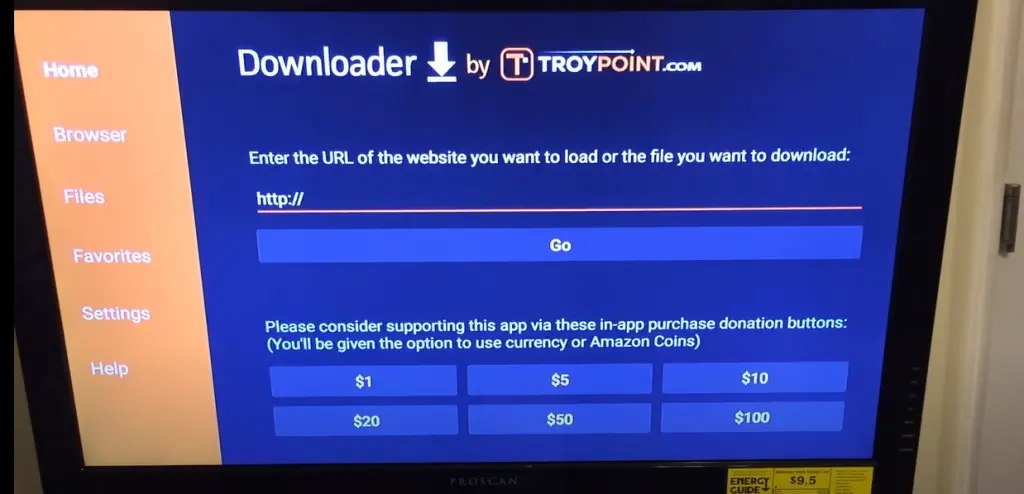
The first step in getting IPTV Stalker working is to install Kodi. Kodi is a free and open-source media player software application that allows you to play and stream digital media content from the internet, as well as local and network storage media. You can download Kodi from the official website at https://kodi.tv/.
Step 2: Add IPTV Stalker Repository
After installing Kodi, the next step is to add the IPTV Stalker Repository. This can be done by following these steps:
1. Open Kodi and click “Settings” on the main menu.
2. Click “File Manager”.
3. Click “Add Source”.
4. Enter “http://fusion.tvaddons.co/” in the path field, and name it something like “Fusion”.
5. Click “OK”.
Step 3: Install IPTV Stalker Add-on
Now that you’ve added the IPTV Stalker Repository, it’s time to install the add-on. Here are the steps:
1. From the Kodi home screen, click “Add-ons” on the main menu.
2. Click the “Package Installer” icon in the top-left corner.
3. Click “Install from zip file”.
4. Click the repository you added earlier (i.e. “Fusion”).
5. Click “xbmc-repos”.
6. Click “International”.
7. Click “repository.stalker.zip”.
8. Wait for the add-on installed notification.
Step 4: Configure IPTV Stalker
After installing the IPTV Stalker add-on, you’ll need to configure it by following these steps:
1. From the Kodi home screen, click “Add-ons”.
2. Click “My Add-ons”.
3. Click “PVR Clients”.
4. Click “PVR IPTV Stalker Client”.
5. Click “Configure”.
6. Enter your IPTV Stalker username and password.
7. Click “OK”.
Step 5: Enjoy IPTV Stalker
Now that you’ve installed and configured IPTV Stalker, it’s time to enjoy it. From the Kodi home screen, click “TV” on the main menu to access the live TV channels.
Closing Thoughts
In this article, we’ve shown you how to get IPTV Stalker working on your device. While the process may seem a bit daunting at first, it’s actually quite simple once you know what to do. By following the steps outlined above, you can enjoy live TV channels from all over the world right from your Kodi media player. We hope you found this article helpful and informative, and happy streaming!
Get your subscription today: iptvuk.uk