
How To Fix Iptv Stalker On Kodi
Kodi is a user-friendly open-source media application that allows users to stream movies, TV shows, live broadcasts and much more. One of the several add-ons that operate on Kodi is the IPTV Stalker. IPTV Stalker is an add-on that enables viewers to watch live TV shows, online movies, and other content available around the world.
However, we have heard of several complaints about IPTV Stalker malfunctioning. So, if you are among the many Kodi and IPTV users encountering issues with the IPTV Stalker add-on, we have got you covered. In this article, we will discuss how to fix issues with Iptv Stalker on Kodi.
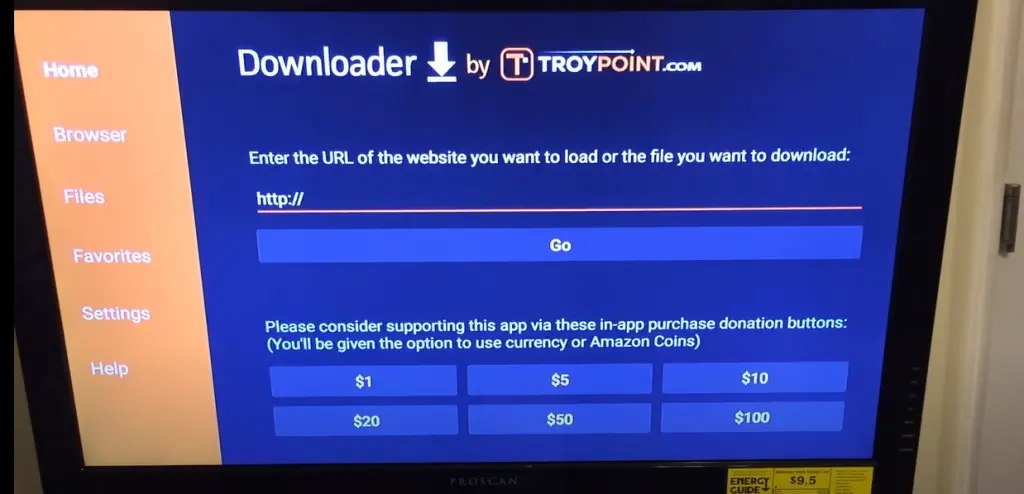
Fix 1: Clear Kodi Cache
Clearing your cache on Kodi is the ultimate solution when dealing with IPTV Stalker not working correctly. Kodi stores cache on your device, either desktop or mobile, to enable swift access to content the next time you perform a search. Overloading Kodi cache may result in several issues with the IPTV Stalker add-on.
To clear cache on Kodi, follow the instructions below:
On the Kodi homepage, click on settings > file manager > profile directory > database > click on the addon you want to clear cache and delete it.
Fix 2: Update Kodi and IPTV Stalker
IPTV Stalker has had numerous updates in recent times since stream services change quite often. Hence, failure to update both Kodi and IPTV Stalker can lead to technical issues and failure of the add-on to operate correctly.
To update Kodi:
On your Kodi homepage, click on settings > system > add-ons > updates > enable automatic updates.
To update IPTV Stalker:
Visit the official IPTV Stalker GitHub page, download, and install the latest version of IPTV Stalker.
Fix 3: Enable PVR IPTV Simple Client Add On
The PVR IPTV Simple Client add-on required enabling for IPTV Stalker to work correctly. Performing the following steps below will allow you to enable the PVR IPTV Simple Client add-on:
On your Kodi homepage, click on settings > add-ons > install the PVR IPTV simple client add-on > allow and enable it > choose configure > add playlist > input your IPTV provider’s URL > click the ok button > save the configuration.
Fix 4: Reinstall IPTV Stalker Add-On
If all the above fixes do not work for you, you can try reinstalling the IPTV Stalker add-on. Follow the steps below to reinstall the add-on:
On your Kodi homepage, click on add-ons > search > type in IPTV Stalker > click on IPTV Stalker > click on install > wait for the installation to complete > enable the add-on.
Conclusion
Overall, Kodi and IPTV Stalker issues are quite common, especially when you start using them for the first time. However, following the methods explained above, especially when dealing with IPTV Stalker add-on issues, should fix all the issues you will encounter. Make sure to try all methods and keep the add-on up-to-date, and it should work without any problems.
Get your subscription today: iptvuk.uk