How To Install IPTV On Kodi Android
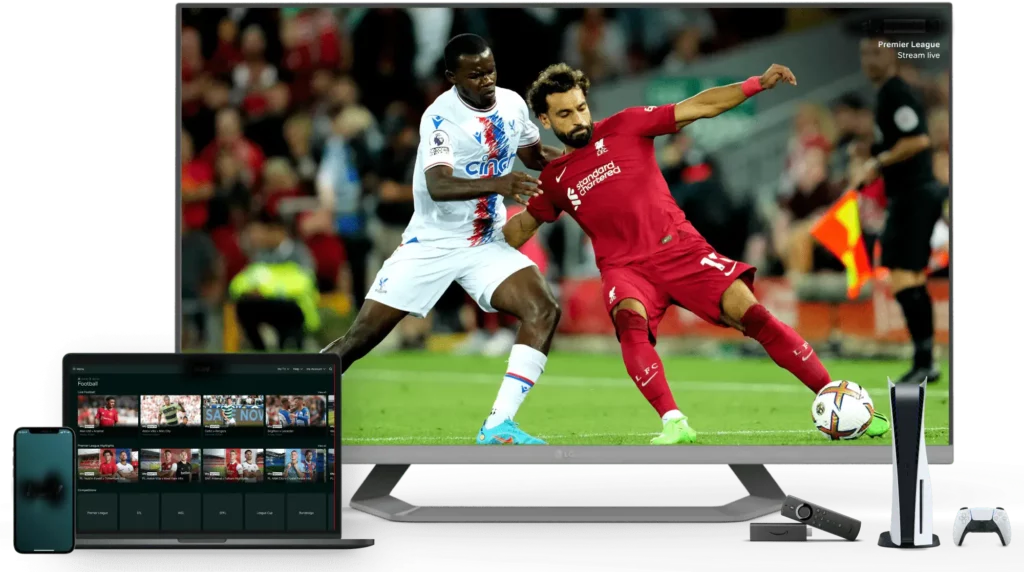
IPTV, or Internet Protocol Television, is quickly becoming the standard for delivering television content over the internet. With the rise of cord-cutting, many people are looking for new ways to access their favorite shows and channels without paying for cable or satellite subscriptions. One of the most popular ways to watch IPTV is through Kodi, a free and open-source media player that can be installed on a variety of platforms, including Android.
In this article, we’ll show you how to install IPTV on Kodi Android, so you can start watching your favorite channels right from your Android device.
Before you begin
Before we dive into the installation process, there are a few things you need to do before getting started.
1. First, make sure your Android device is connected to the internet. IPTV requires a stable and fast internet connection to work properly.
2. You’ll also need to make sure you have Kodi installed on your Android device. If you don’t have it yet, you can download it for free from the Google Play Store.
Now that you have everything you need, let’s get started.
Step 1: Install the IPTV add-on
The first thing you need to do is install an IPTV add-on for Kodi. There are several add-ons available, but for this tutorial, we’ll be using the PVR IPTV Simple Client add-on, which is included with Kodi.
1. Open Kodi on your Android device.
2. From the main menu, select “Add-ons”.
3. Click on the open box icon in the top left corner of the screen.
4. Select “Install from repository”.
5. Scroll down and select “PVR clients”.
6. Select “PVR IPTV Simple Client”, then click “Install”.
7. Wait for the add-on to install, then click “Enable”.
Step 2: Configure the IPTV add-on
Now that you have the IPTV add-on installed, you need to configure it to work with your IPTV provider.
1. From the main menu, select “Add-ons”.
2. Click on the open box icon in the top left corner of the screen.
3. Select “My add-ons”.
4. Scroll down and select “PVR clients”.
5. Select “PVR IPTV Simple Client”, then click “Configure”.
6. Under “General”, set “Location” to “Remote Path (Internet address)”.
7. In the “M3U playlist URL” field, enter the URL provided by your IPTV provider. (This will usually be a long string of text that begins with “http://” or “https://”.)
8. Under “EPG Settings”, set “Location” to “Remote Path (Internet address)”.
9. In the “XMLTV URL” field, enter the URL provided by your IPTV provider. (This will usually be a long string of text that begins with “http://” or “https://”.)
10. Click “OK” to save your changes.
Step 3: Enjoy your IPTV channels
Now that you’ve installed and configured the IPTV add-on, you can start watching your favorite channels.
1. From the main menu, select “TV”.
2. You should see a list of channels provided by your IPTV provider.
3. Select the channel you want to watch.
4. Sit back, relax, and enjoy your IPTV content!
Conclusion
Installing IPTV on Kodi Android is a great way to access your favorite channels, without having to pay for expensive cable or satellite subscriptions. By following these simple steps, you can get up and running in no time. Of course, the process may vary slightly depending on your IPTV provider, but the general steps should be the same. So go ahead and give it a try, and let us know if you have any questions or comments. Happy watching!
Get your subscription today: iptvuk.uk


