
How To Install Iptv On Vu+ Solo2
IPTV has become one of the most popular ways of watching television content worldwide. With the advancement of technology, more and more people are switching to IPTV because it offers the flexibility of watching their favorite shows anytime, anywhere. The Vu+ Solo2 is one of the most popular IPTV boxes, and in this article, we will guide you on how to install IPTV on Vu+ Solo2.
What is a Vu+ Solo2?
The Vu+ Solo2 is a Linux-based satellite receiver that is known for its powerful processing capabilities. It has an HDMI output, a LAN port, a USB port, and an e-SATA port that allows you to connect an external hard disk drive. With the Vu+ Solo2, you can watch satellite TV and IPTV content.
Steps to Install IPTV on Vu+ Solo2
To install IPTV on your Vu+ Solo2, you need to follow these steps:
Step 1: Connect the Vu+ Solo2 to the Internet
The first step is to connect the Vu+ Solo2 to the internet. You can use either the LAN port or the built-in Wi-Fi adapter to connect to your home network. Make sure that you have a stable internet connection before proceeding to the next step.
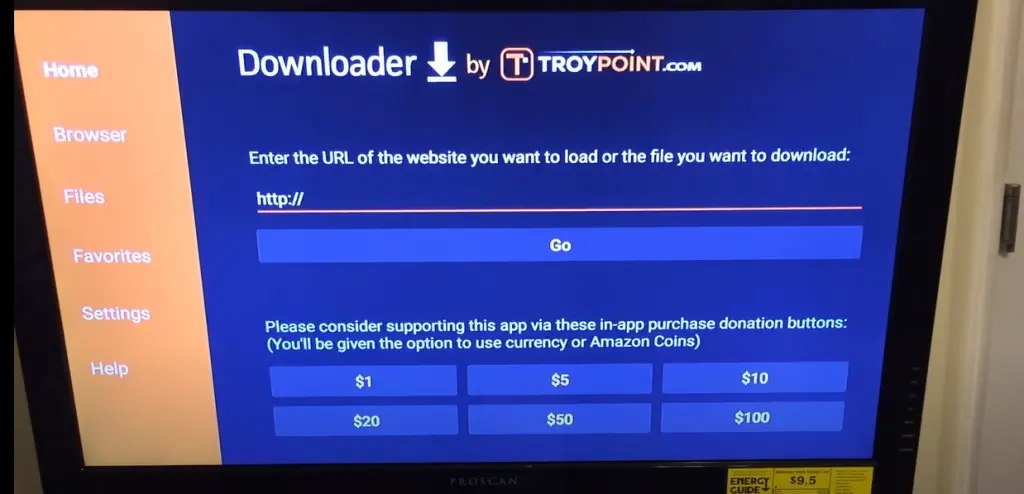
Step 2: Install the IPTV plugin
After connecting the Vu+ Solo2 to the internet, the next step is to install the IPTV plugin. To install the IPTV plugin, follow these steps:
– Press the Menu button on your remote control
– Go to the Setup option and select it
– Choose VIX option from the list
– Select the VIX Plugins option
– Choose the Media Player option from the list
– Choose the IPTVPlayer option and click OK to install.
After the installation is complete, the plugin will be available in the Plugin Browser.
Step 3: Configure the IPTV plugin
Now that you have installed the IPTV plugin, the next step is to configure it. To configure the plugin, follow these steps:
– Press the Menu button on your remote control
– Go to the Plugins option and select it
– Choose the IPTVPlayer option and select the Configuration option
– Choose the Addons option and select the Playlist option
– Choose the Add button and select the M3U Playlist option
– Input your IPTV m3u link into the URL box
– Choose OK to save the configuration.
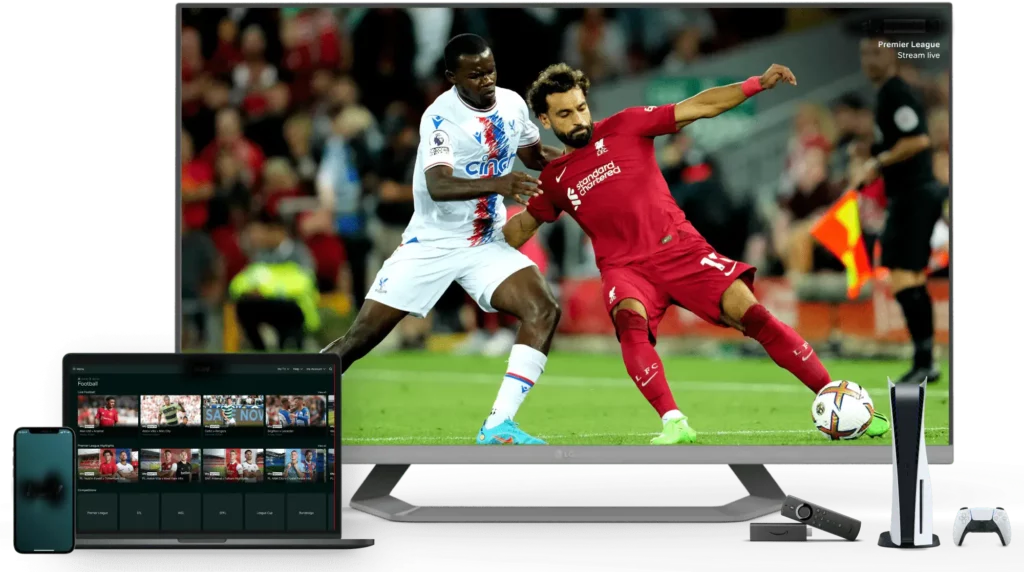
Step 4: Play IPTV on Vu+ Solo2
After configuring the IPTV plugin, the next step is to play IPTV on your Vu+ Solo2. To play IPTV on your Vu+ Solo2, follow these steps:
– Press the Menu button on your remote control
– Go to the Plugins option and select it
– Choose the IPTVPlayer option and select the Live TV option
– Choose your IPTV playlist from the list
– Click OK to start watching IPTV on your Vu+ Solo2.
Conclusion
Installing IPTV on Vu+ Solo2 is a simple process that can be done in a few steps. By following the steps outlined in this article, you can easily install IPTV on your Vu+ Solo2 and enjoy your favorite shows and movies whenever you want. We hope this article has been informative and helpful.
Get your subscription today: iptvuk.uk